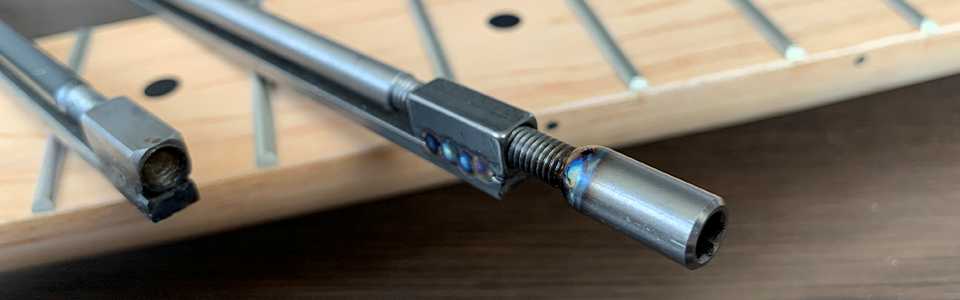
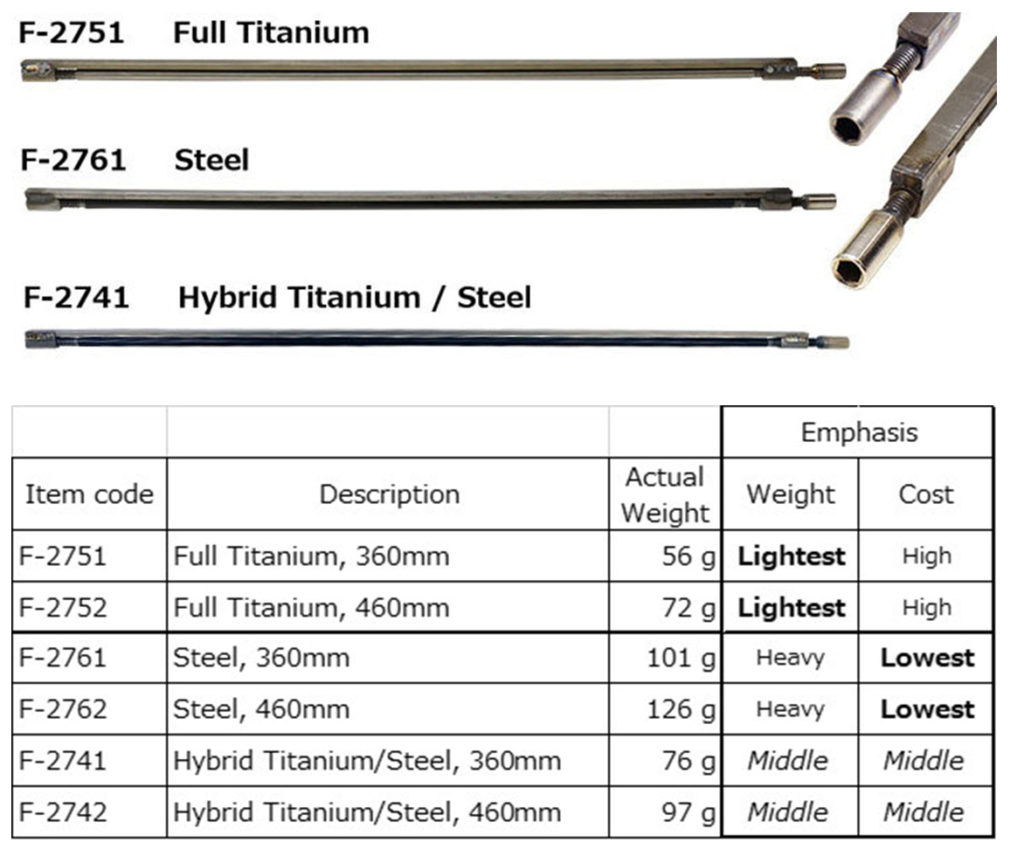
COMING SOON – “Full Titanium” guitar truss rods, approx. 25% lighter than Hybrid (Titanium/Steel) and almost 45% lighter than the standard steel truss rod. The “Full Titanium” will improve your tone and playability, while reinforcing the neck strength.
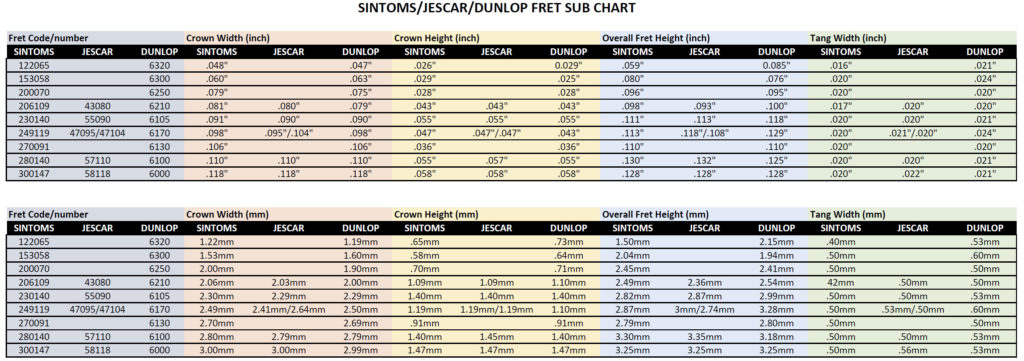
Here is a substitution chart for Sintoms, Jescar and Dunlop commonly used fretwires. I will be updating the chart as I have more time to include more sizes. Eventually, I will include Stewmac and other fretwire brands.
Both Jescar and Sintoms frewire are available at Philadlephia Luthier Tools & Supplies.
Right click on image and click open image in new tab to see a larger view.
Philadelphia Luthier Tools & Supplies is glad to now offer Sintoms fretwire to our customers along with our selection of quality Jescar fretwire.
Sintoms is a leading producer of fretwire in Central and Eastern Europe located in Belarus since 1992. They sell high-quality frets that help facilitate the sustain and tone of a musical instrument.
Sintoms frets are manufactured with a high degree of accuracy of ± 0.02mm and a smooth polished crowned surface finish. Tangs are in the shape of triangular pyramids to hold fast in the kerf slot. Sintoms also offers a much wider selection of fret material and crown shapes than any other fret manufacturer.
We are stock Sintoms fretwire in straight length set of 6 pcs at 10 1/4″ (260mm) lengths. Plenty of wire (about 5′) to fret a guitar or bass. These sets allow us to ship them through regular mail and to keep shipping costs low.
We can also special order Sintoms fretwire that we don’t normal stock and can offer quantity discounts for bulk purchases by quote. Please email us at support@philadlephialuthiertools.com for more information.
Here are some additional information provided by Sintoms about some of there most popular fretwire.
24. October 2019 · Comments Off on How to shape a guitar pick from bone · Categories: General
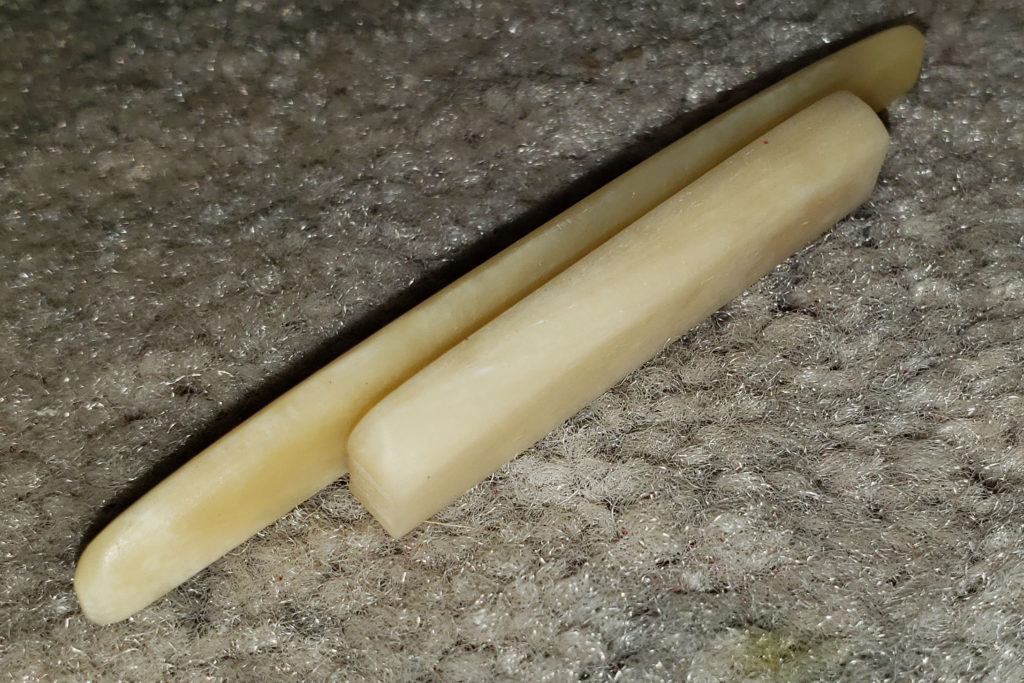
The process shaping a guitar pick from bone(or buffalo horn) is very similar to making a nut or saddle from a bone blank so you can refer to our previous blog post for some additional information especially when it comes to the tools we used.
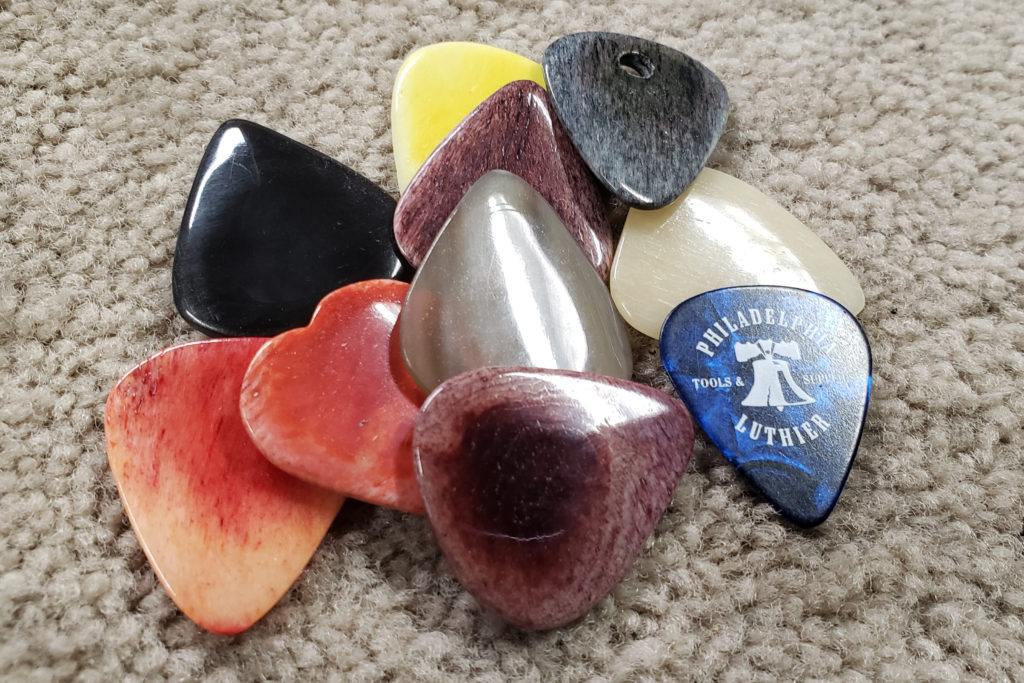
Guitar picks made of bone do look very cool but they really aren’t the best guitar picks if you are an aggressive player. Bone is very brittle so they will chip easily. Using these will give your guitar a different tone especially when playing an acoustic guitar. Completed picks are also great gifts when used in brackets or necklaces.
First, you will need to source some suitable material to use. Fortunately, Philadelphia Luthier Tools & Supplies carries bone and buffalo horn guitar pick blanks in assortment packs. These are the correct size for a standard guitar pick. Here is a link to purchase your set > LINK
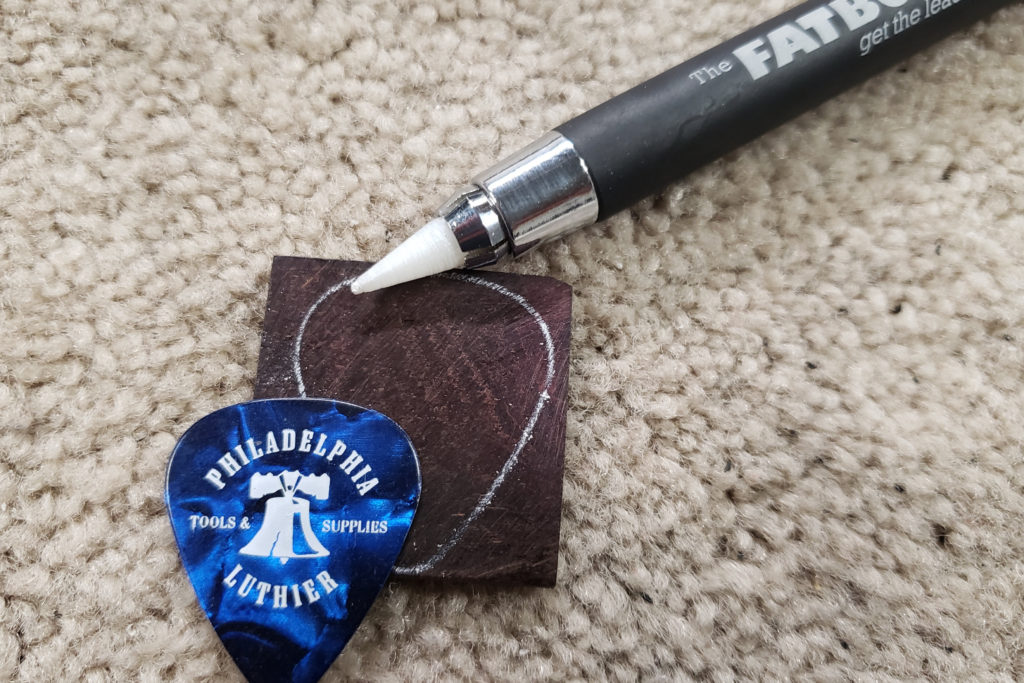
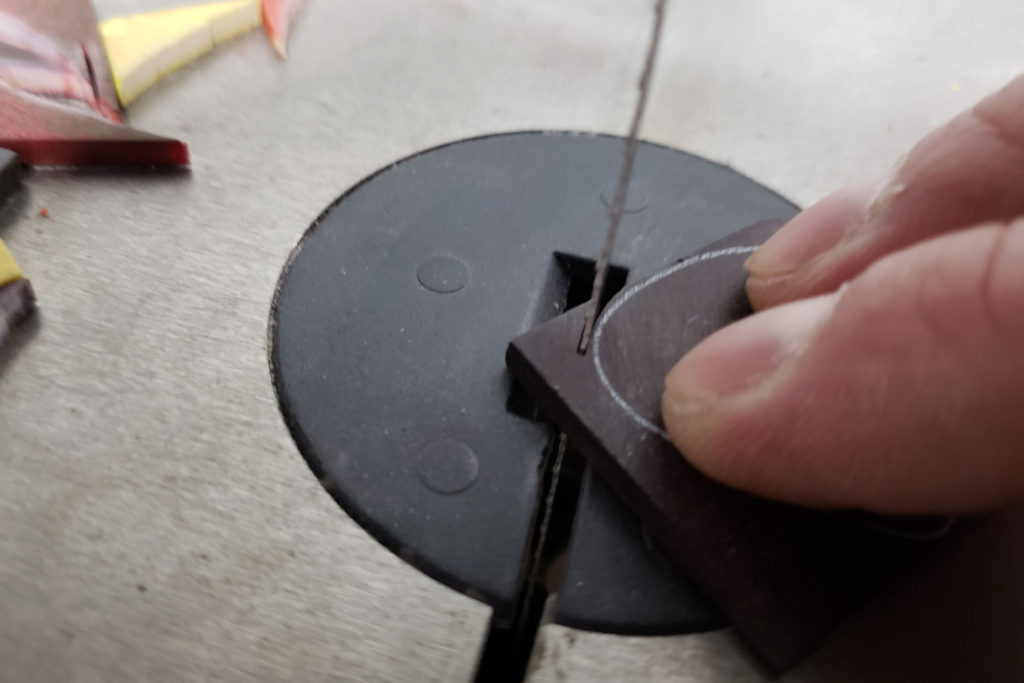
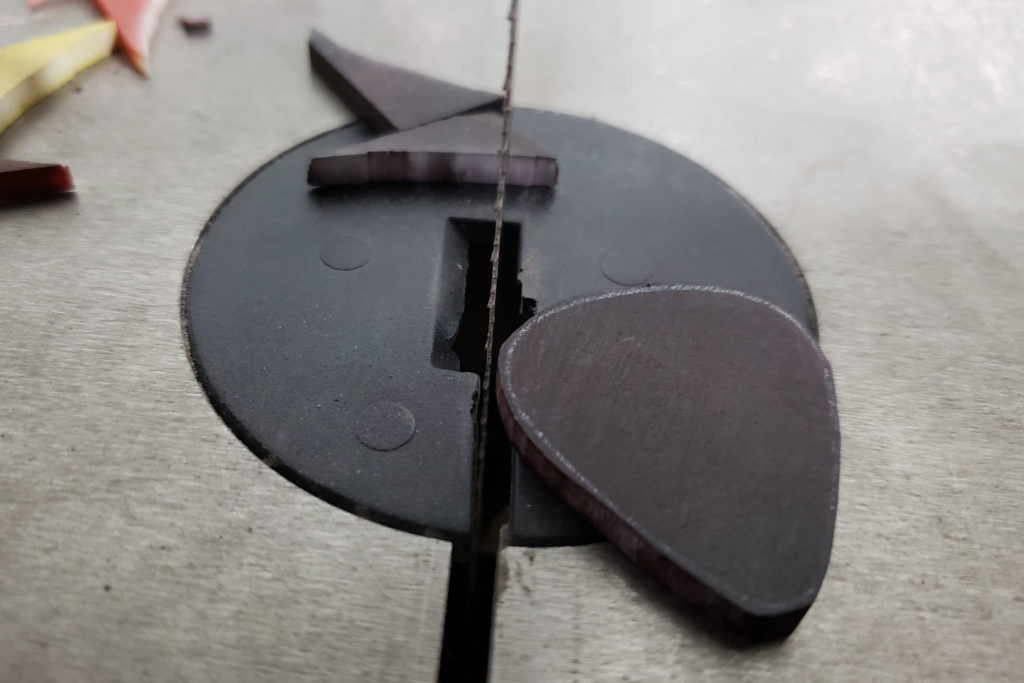
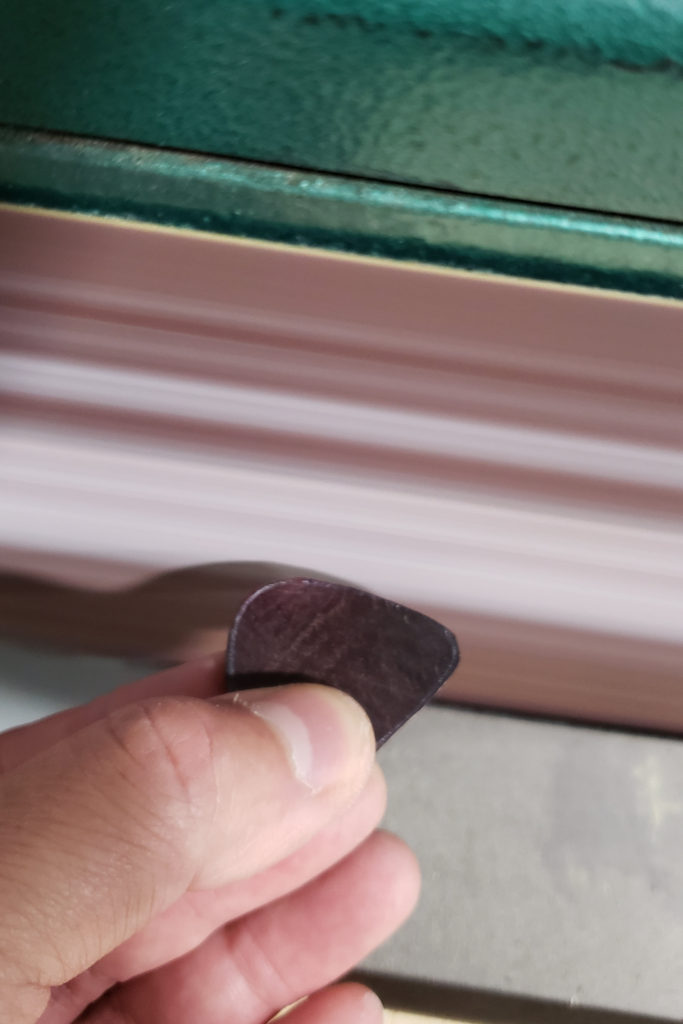
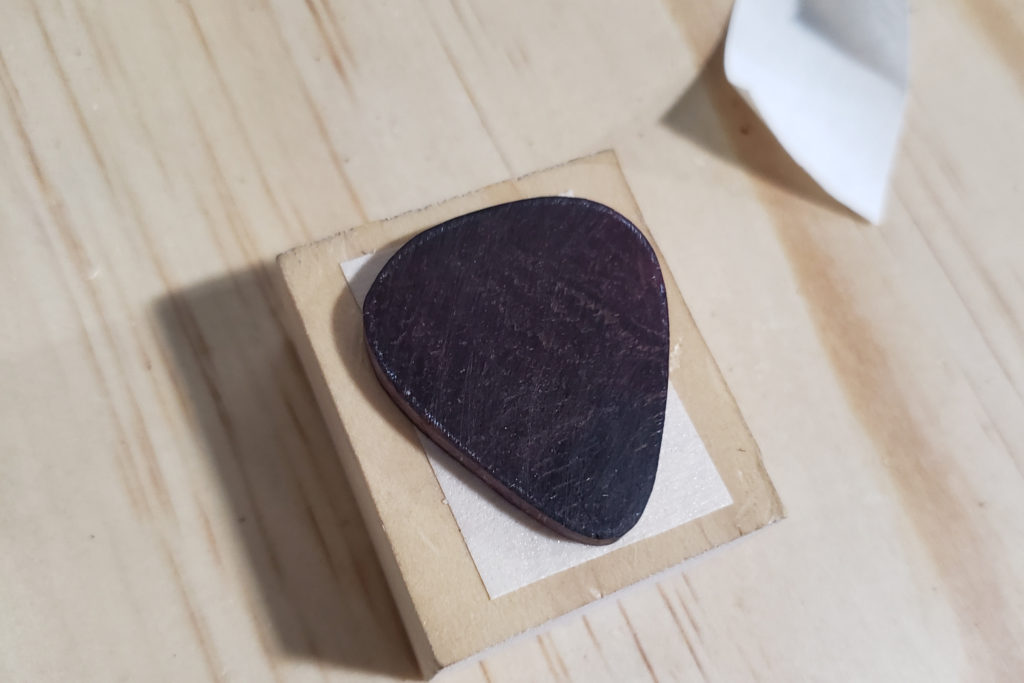
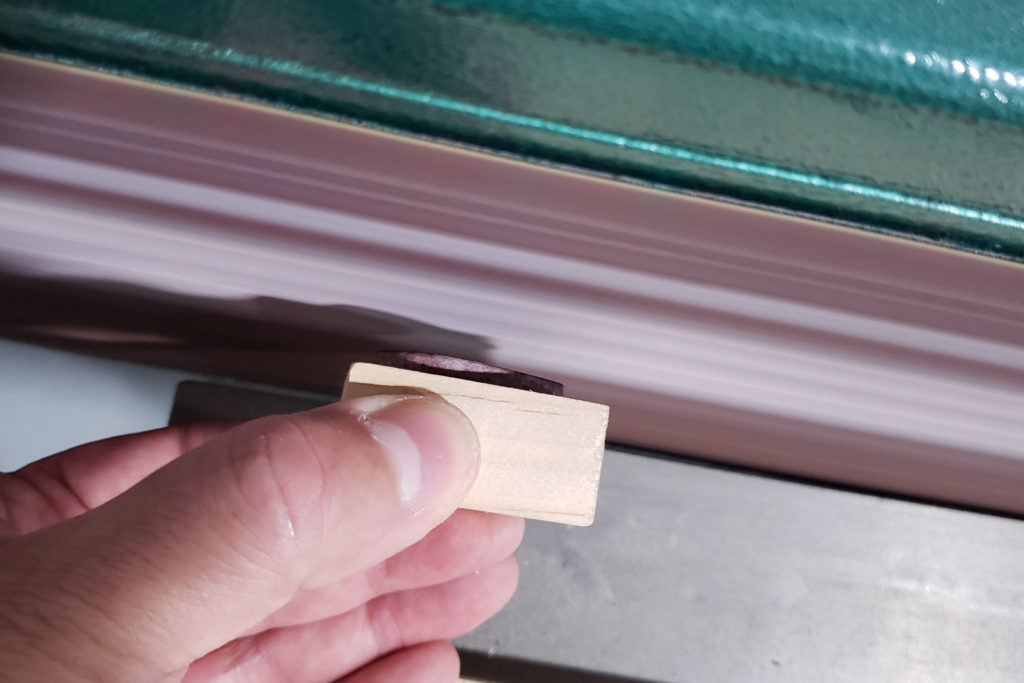
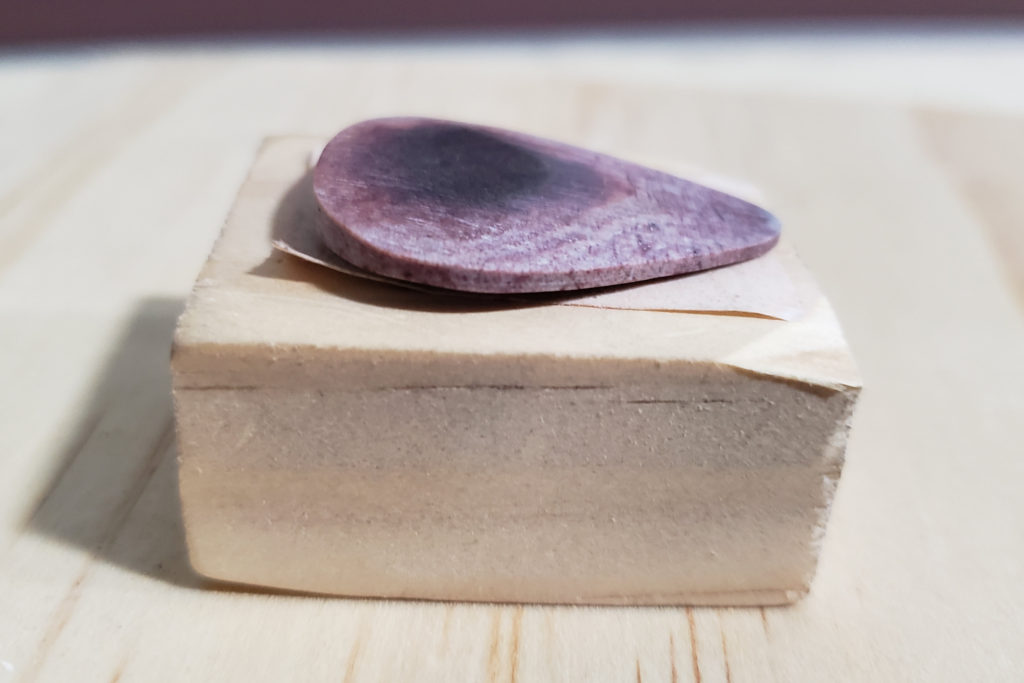
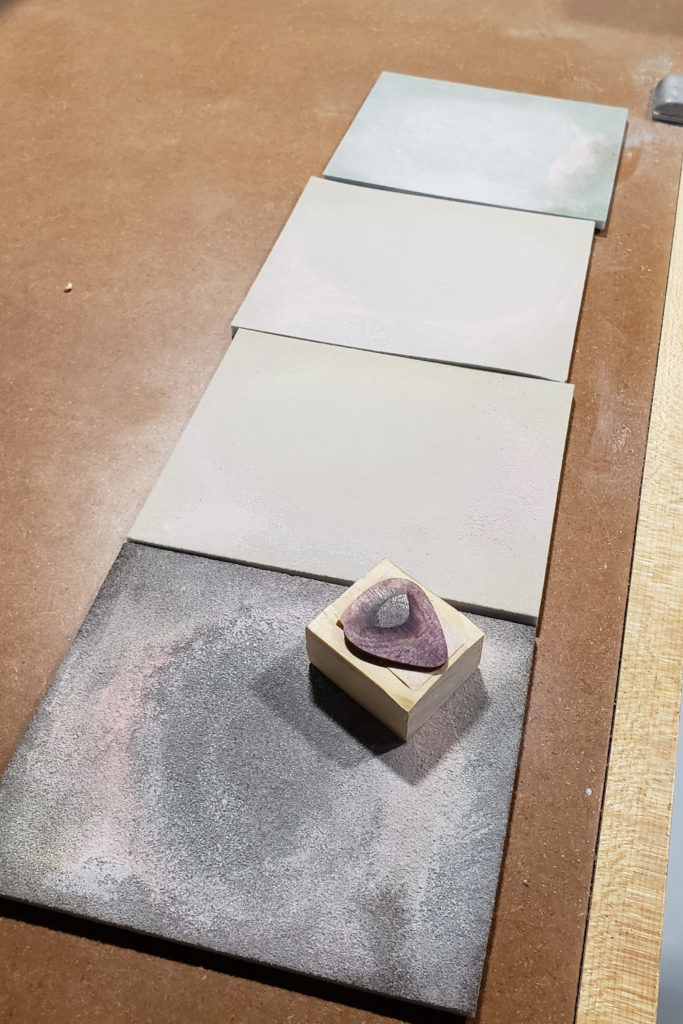
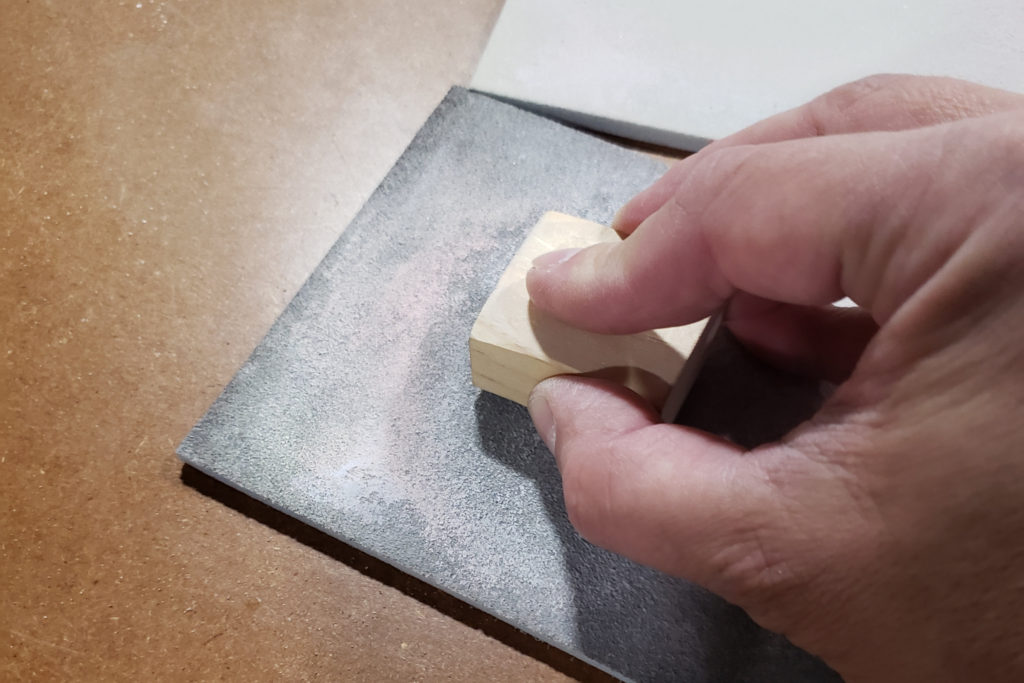
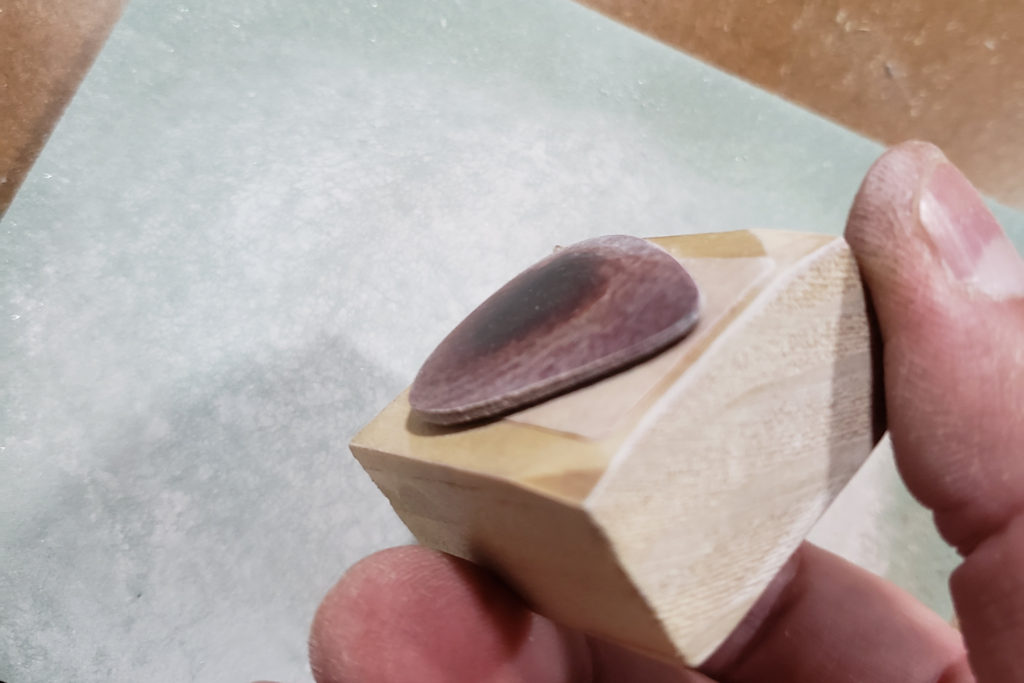
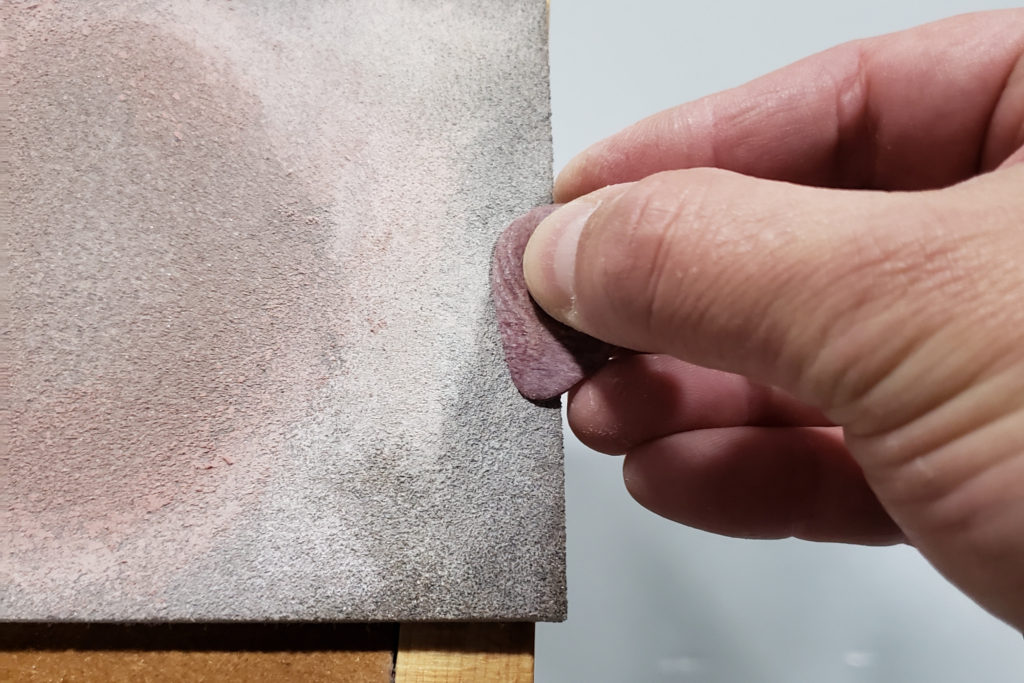
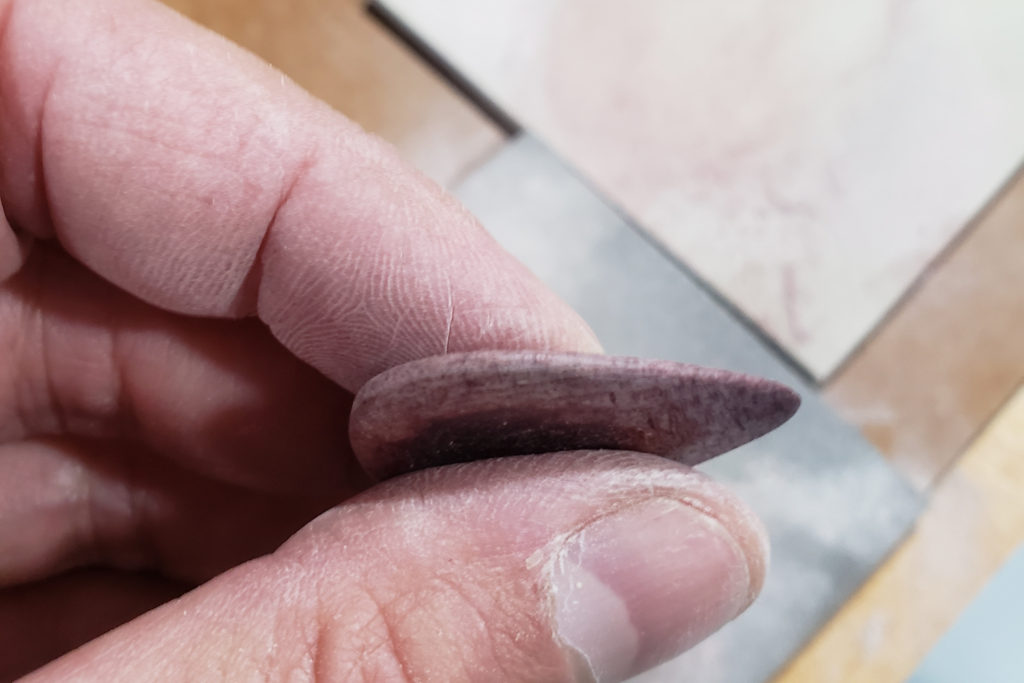
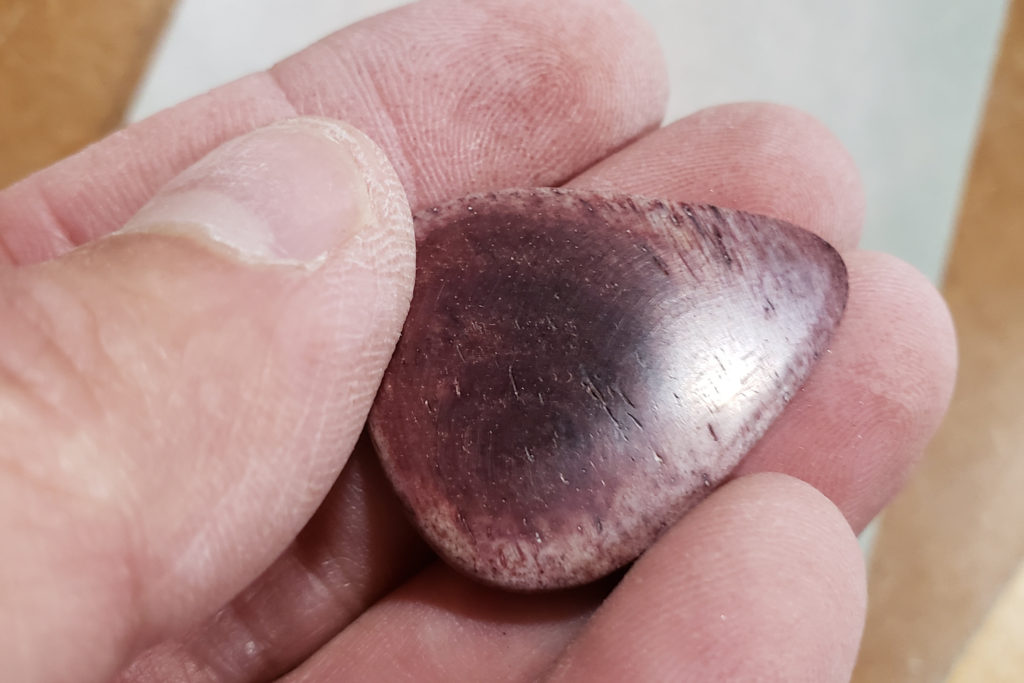
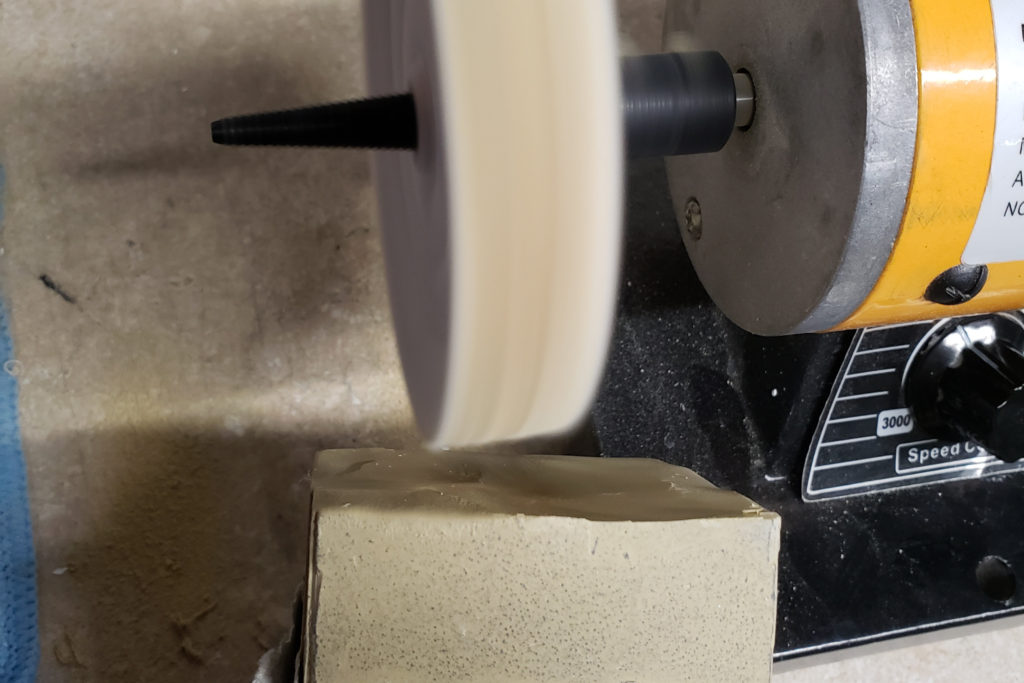
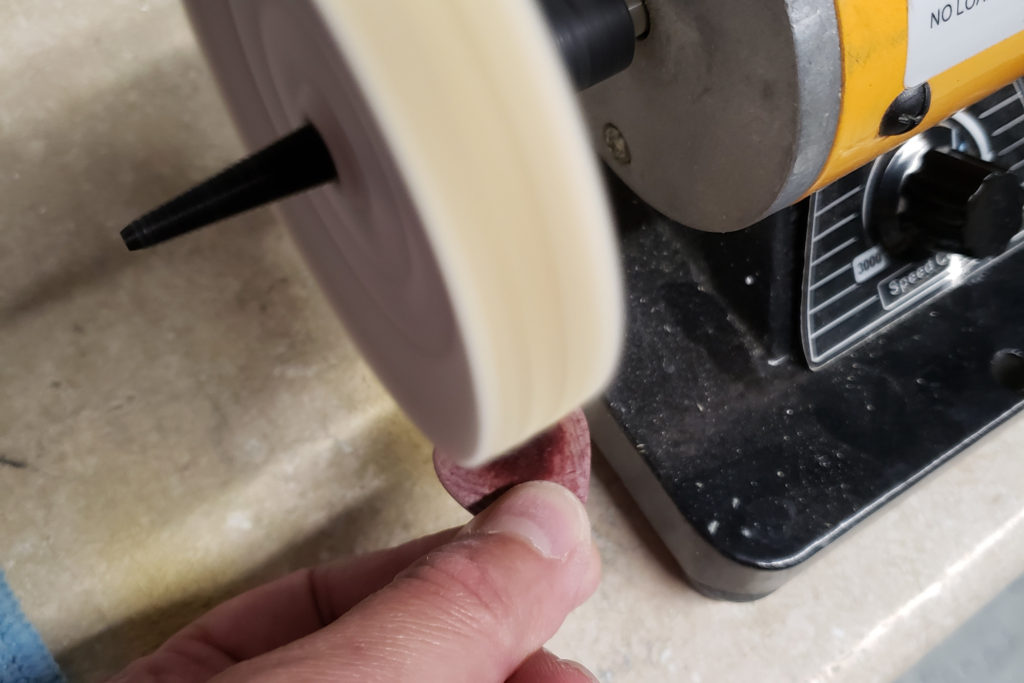
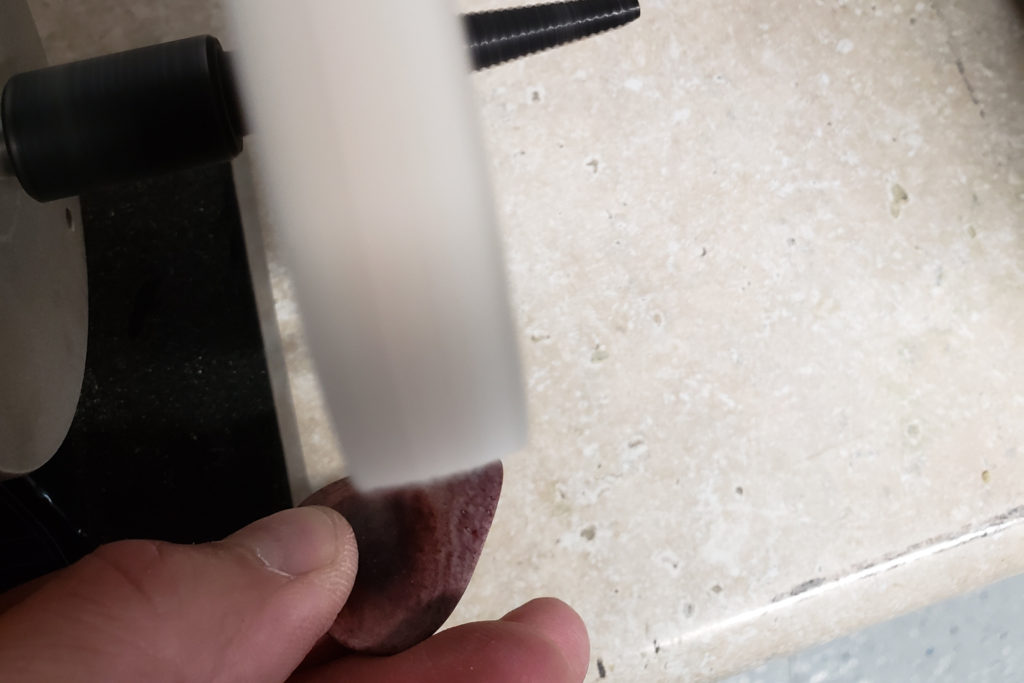
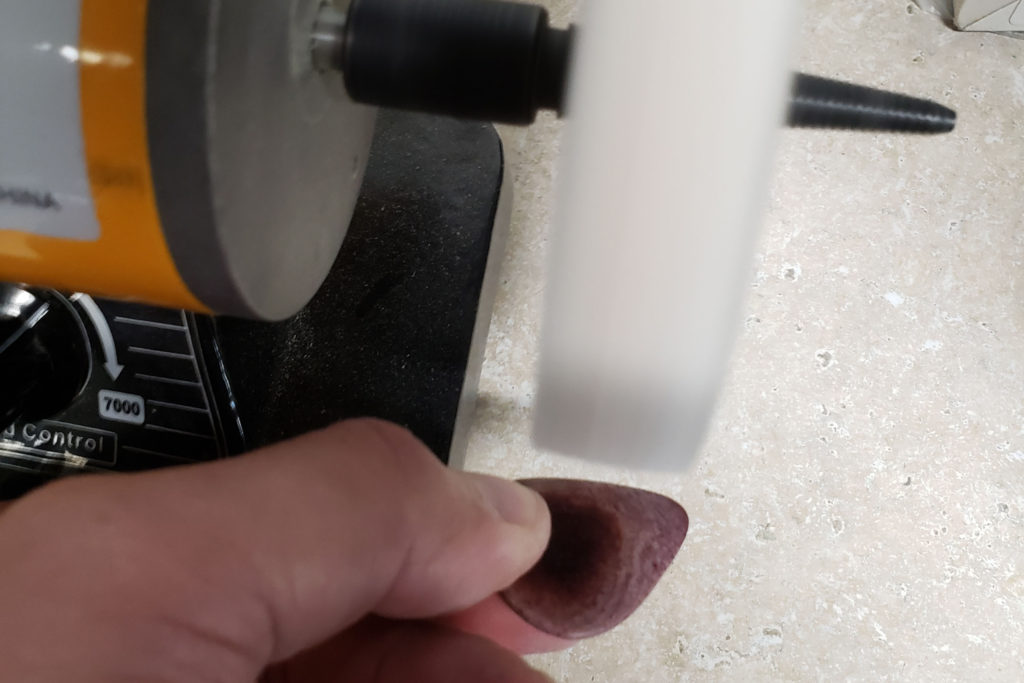
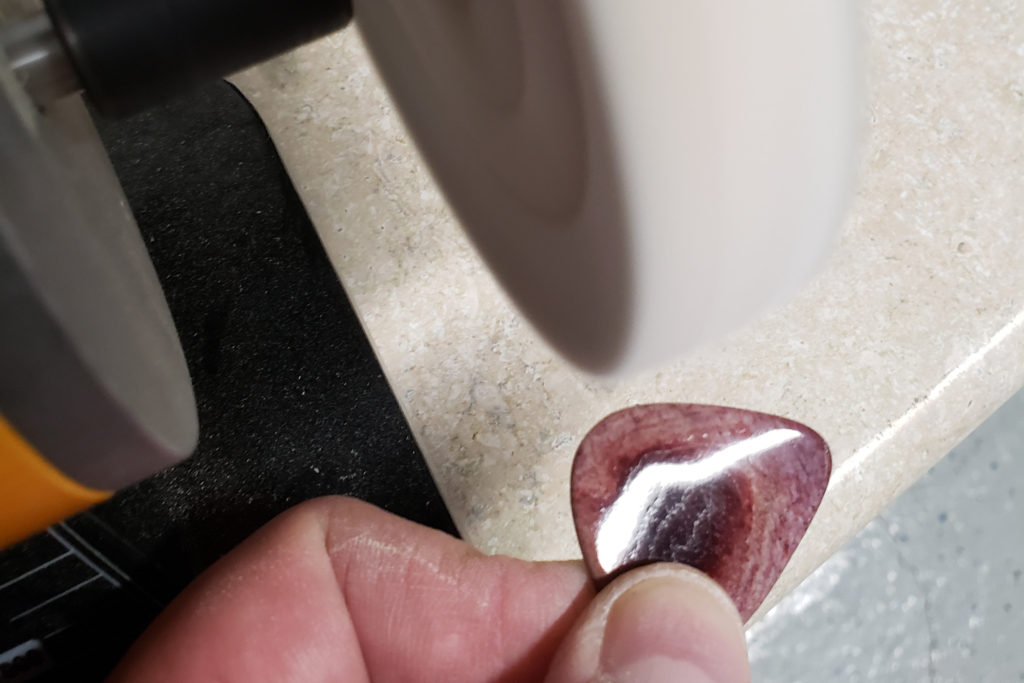
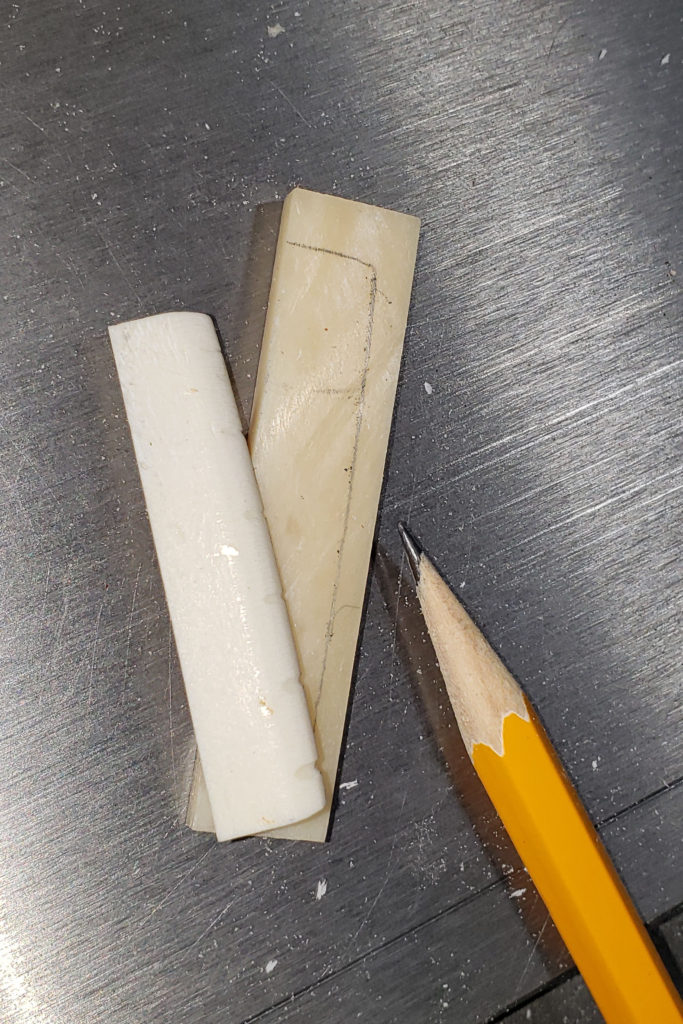
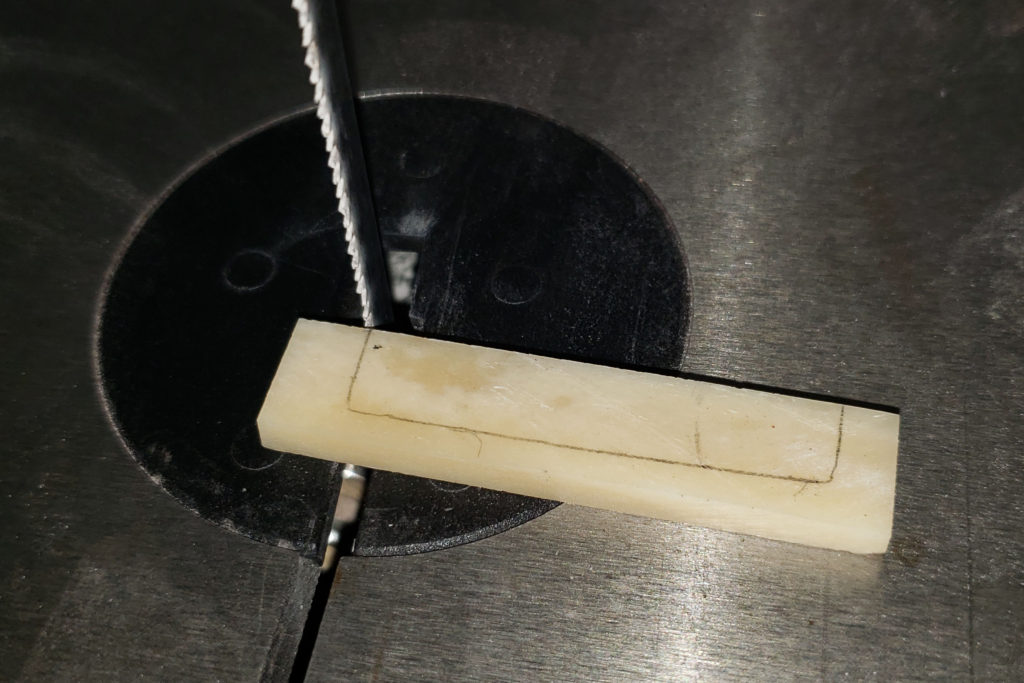
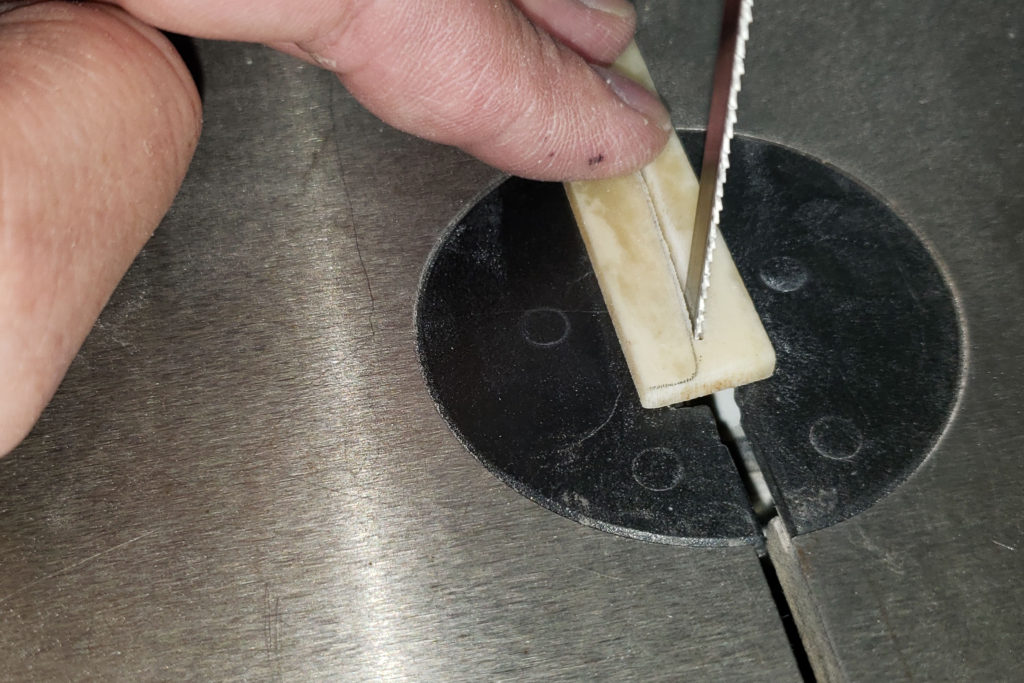
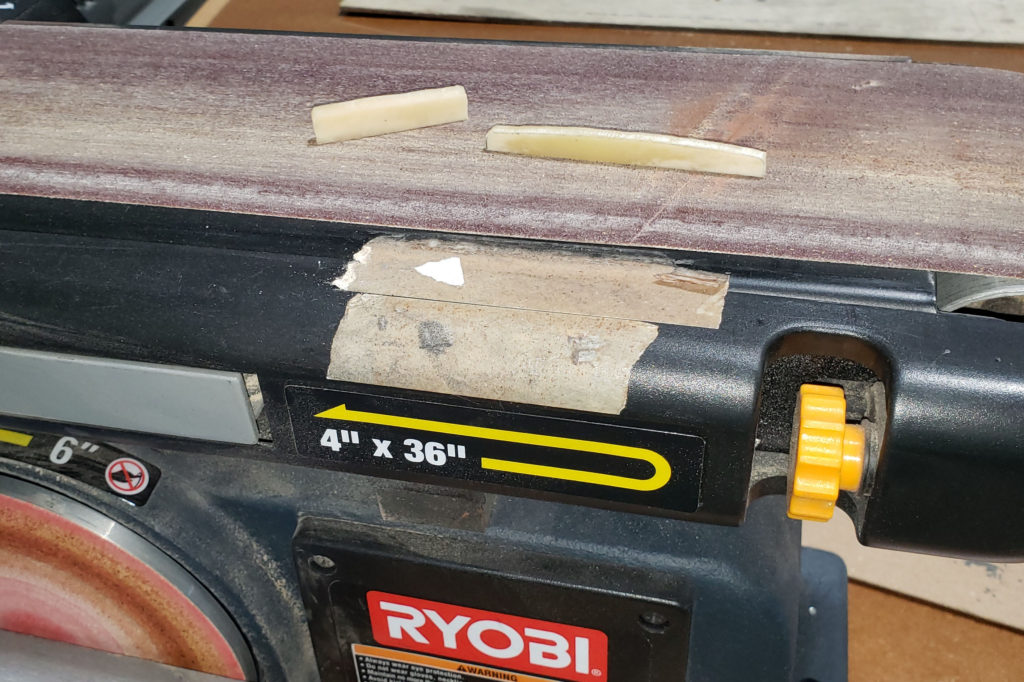
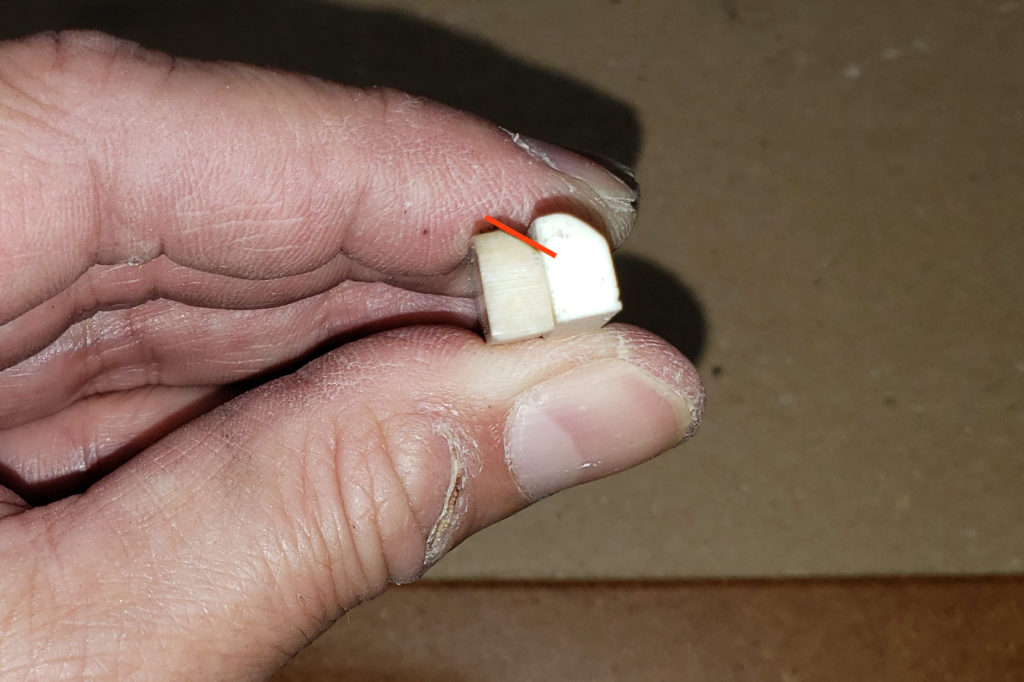
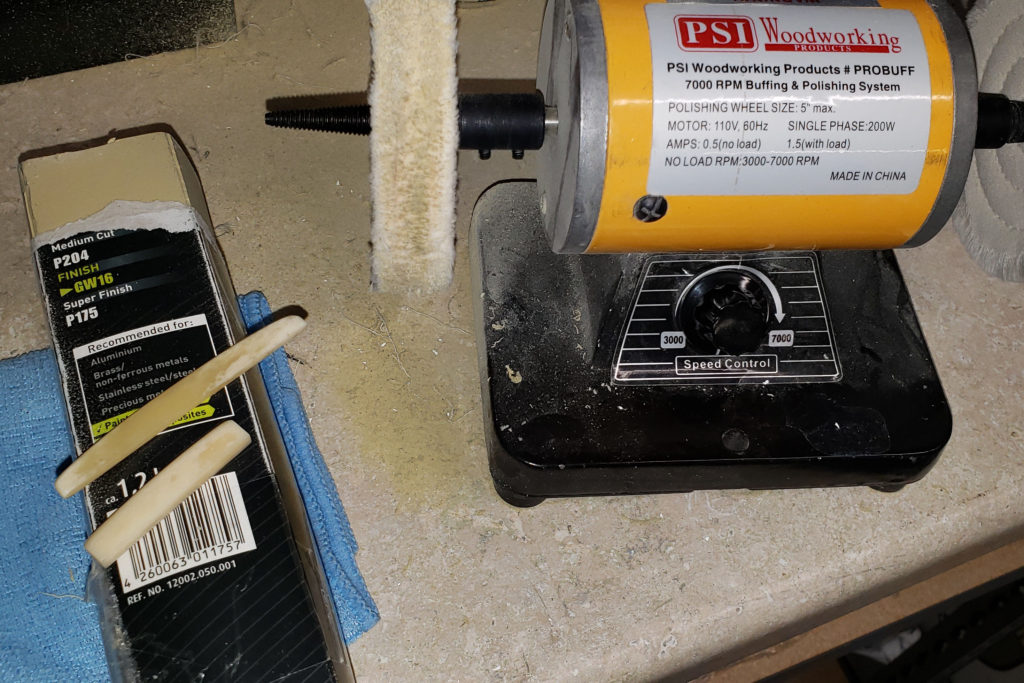
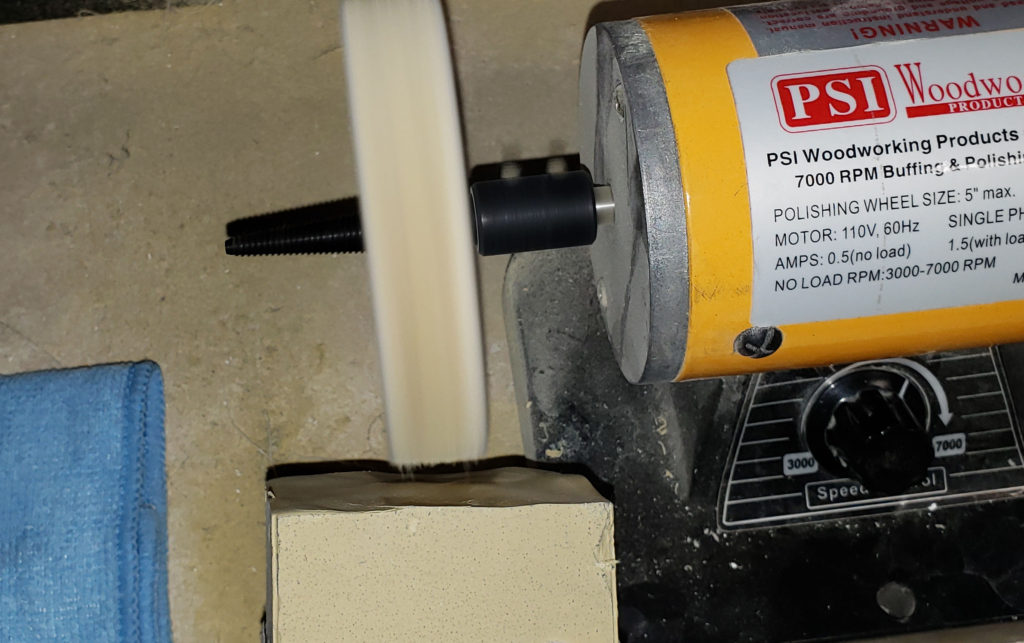
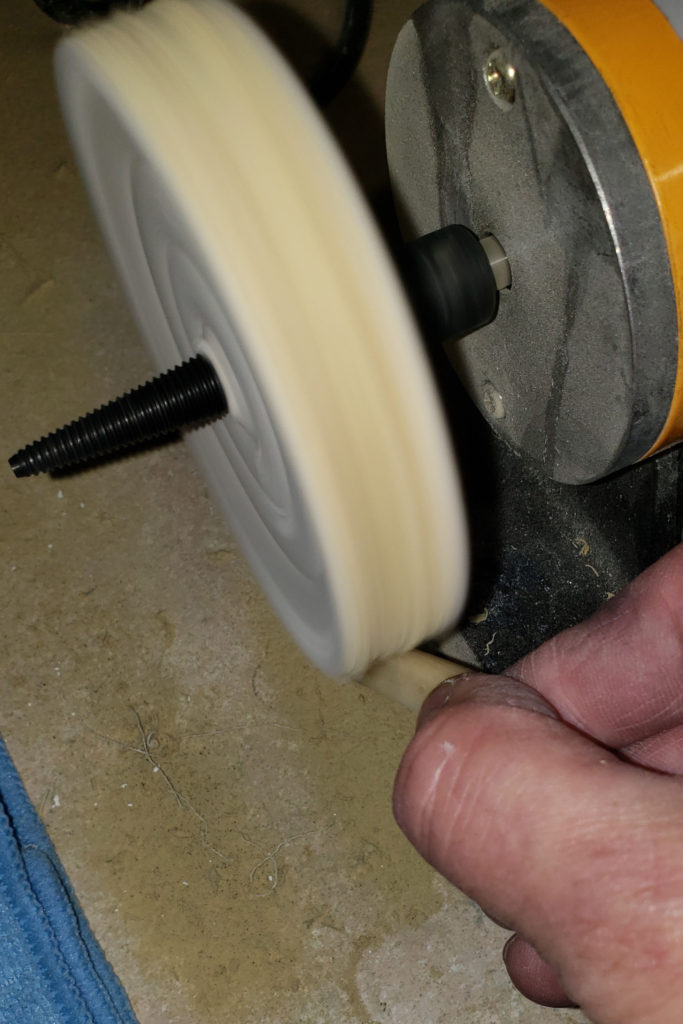
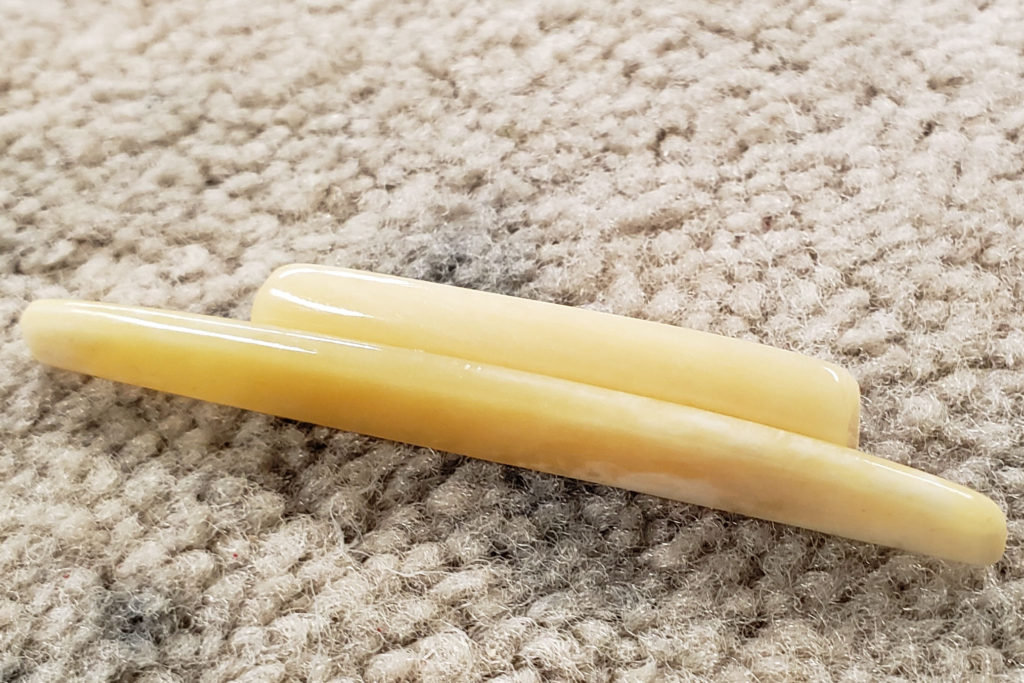
Here we are tracing the shape of the guitar pick on the blank. I’m using a FastCap FatBoy marking pencil since it comes with different color lead. The white color works perfectly for this dyed pick blank.Next, we carefully cut along the outside of the drawn line. I’m using a small tabletop bandsaw to cut out the shape. A pattern cutting scroll saw would also work.Don’t worry too much if the shape isn’t perfect. We will fix it on the belt sander.It is important to only use light pressure and keep the pick moving to get the smoothest edge. Stop frequently and use your finger to feel the edge of the pick to determine how well you are doing.Here, you will need a small piece of scrap wood to attach the pick blank too. This will help you hold on to the pick during the next few steps. It is best to use our double side template tape.The wood should only be slightly larger than the pick you will be shaping.The purpose of attaching the blank to the piece of wood is to save your fingertips. Hold the piece parallel to the sanding belt to make the pick thinner. I personally like my picks to be thick to make them easier to hold.Holding onto the wood, you can start tilting and angling the block so you can taper the edge. It will take some practice to get the right motion. Stop frequently to check your progress. Use a shallower angle to make the end that plucks the string thinner than the part you grasp.After you finish the first side, flip the pick over and do the same thing to the second side trying mirror the look of the first side. You might want to use a new piece of double-sided tape since the tape will have less to hold on to since the pick is no longer flat.Setup 4 different grits of foam-backed sandpaper on a table. I’ve found the foam sandpaper works great to get the nice rounded pick shape.You will want to concentrate most of the shaping on the coarsest grit. Once you are happy with the shape, proceed to the remainder to help remove most of the deep scratches.Hold the pick at an angle to help see any imperfections in your work. Start back at the coarsest grit to fix any problem areas and then finish with the finer grits of sandpaper.Placing the sandpaper near the edge of your workbench will allow easier access to the edge of the pick.Finding imperfections now is better than finding them after polishing so stop frequently and check your progress!This is what the pick will look like after final sanding. Time to get out the benchtop buffer! These are used a lot by pen makers to polish pen blanks. They work great for polish nut, saddles, and picks! Here I’m loading up the left wheel will Menzerna GW16 finishing compound.Make sure your only work in the bottom front quadrant of the buffing wheel to prevent the pick from being thrown at you or through the shop.I always use a clean buffing wheel (no compound) for the final polish.Make sure to get all sides and edges!The completed guitar pick! Check out that shine! From here, you can go ahead and start plucking away on your favorite guitar or you could drill a hole in it so you can attach it to a necklace or bracelet for your favorite girl!
Everyone has different ways of shaping a new nut or saddle from a bone blank. Is there a right or wrong way? Nope. There are definitely ways that are a lot faster than others. It typically only takes me about 5 minutes from start to finish…possibly less if I’m in a hurry.
Let me show you how I make one in our shop.
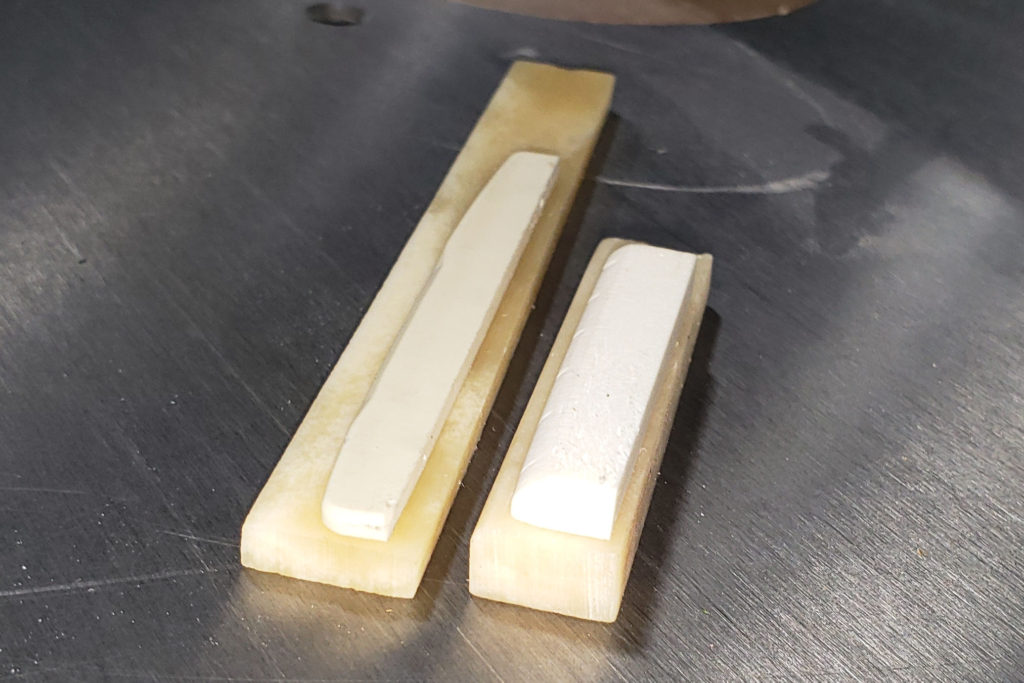
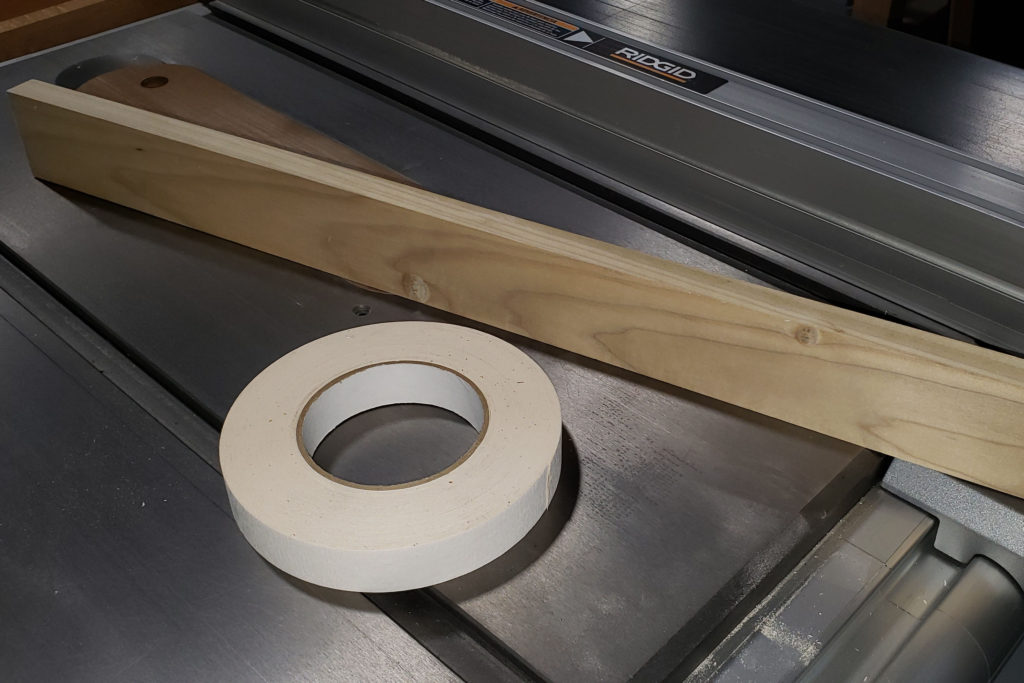
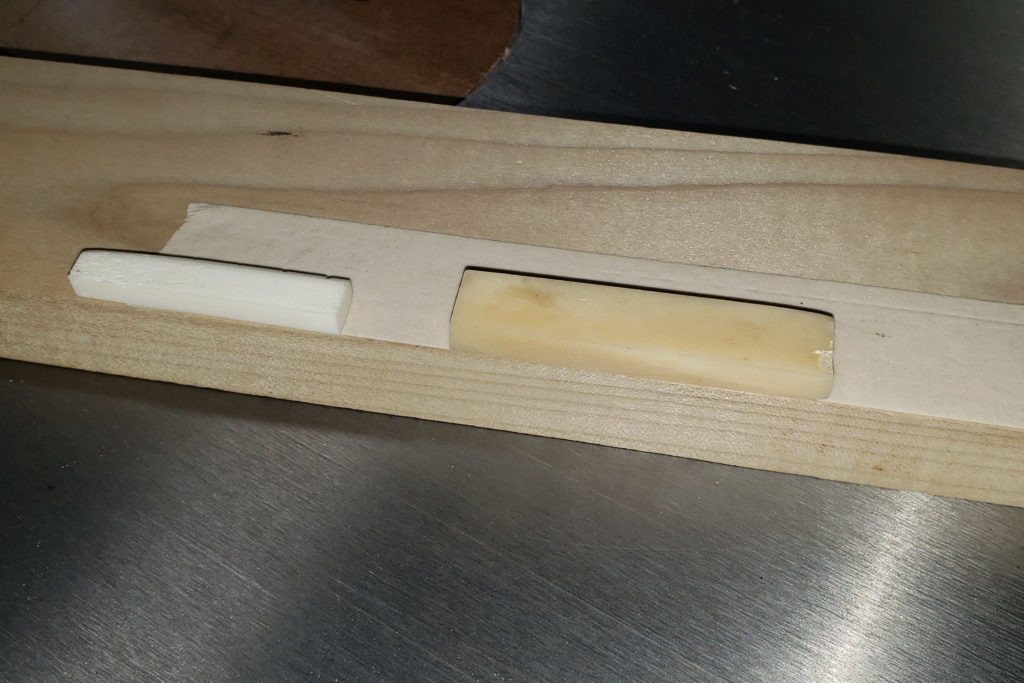
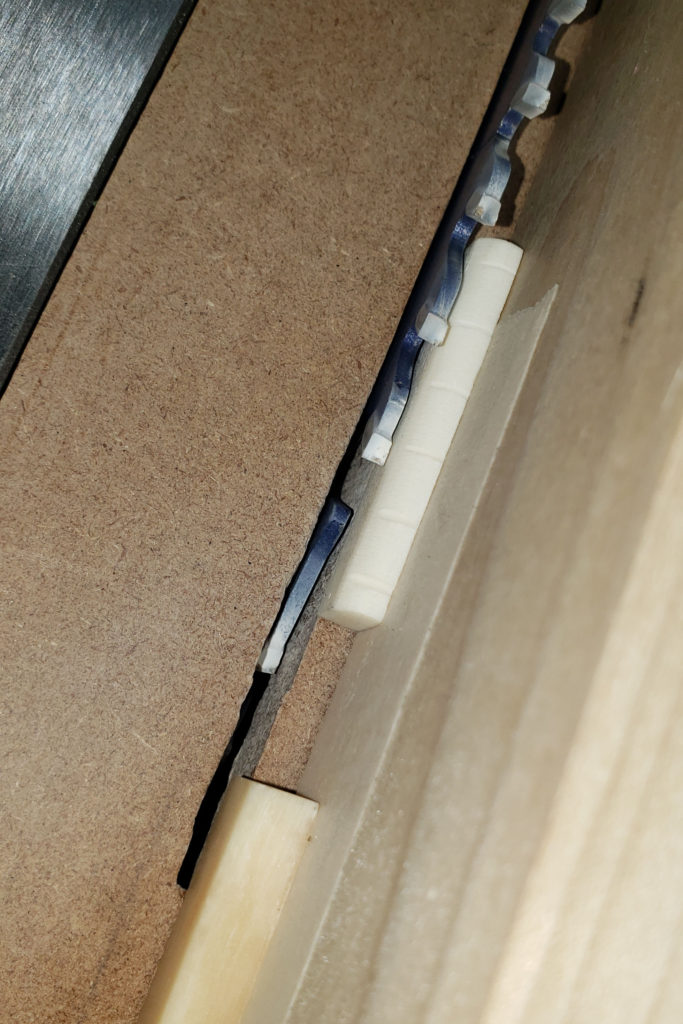
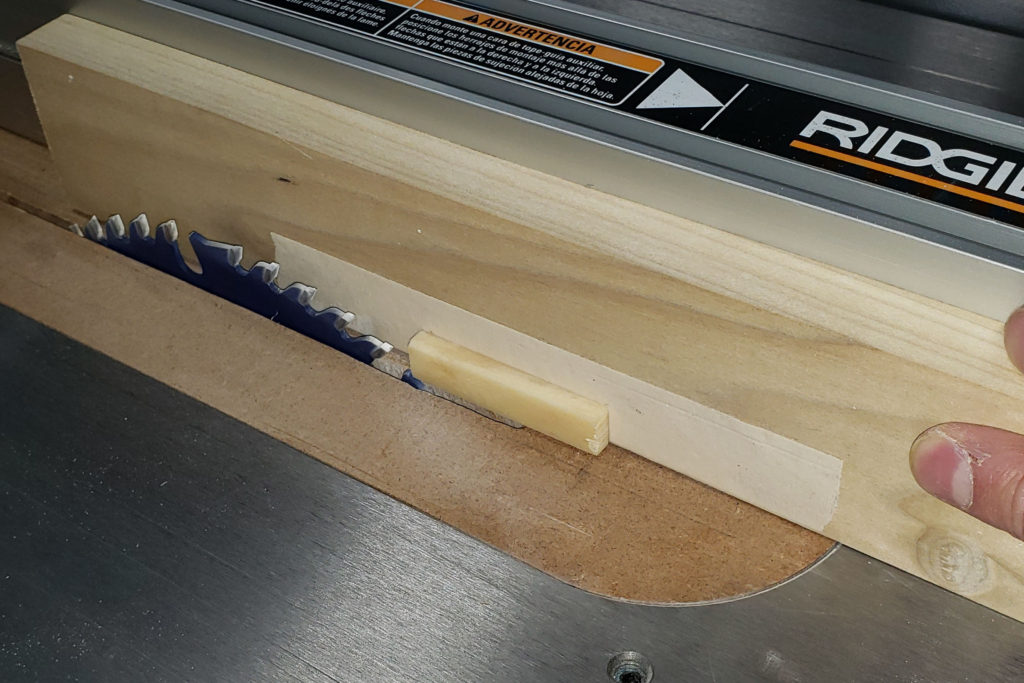
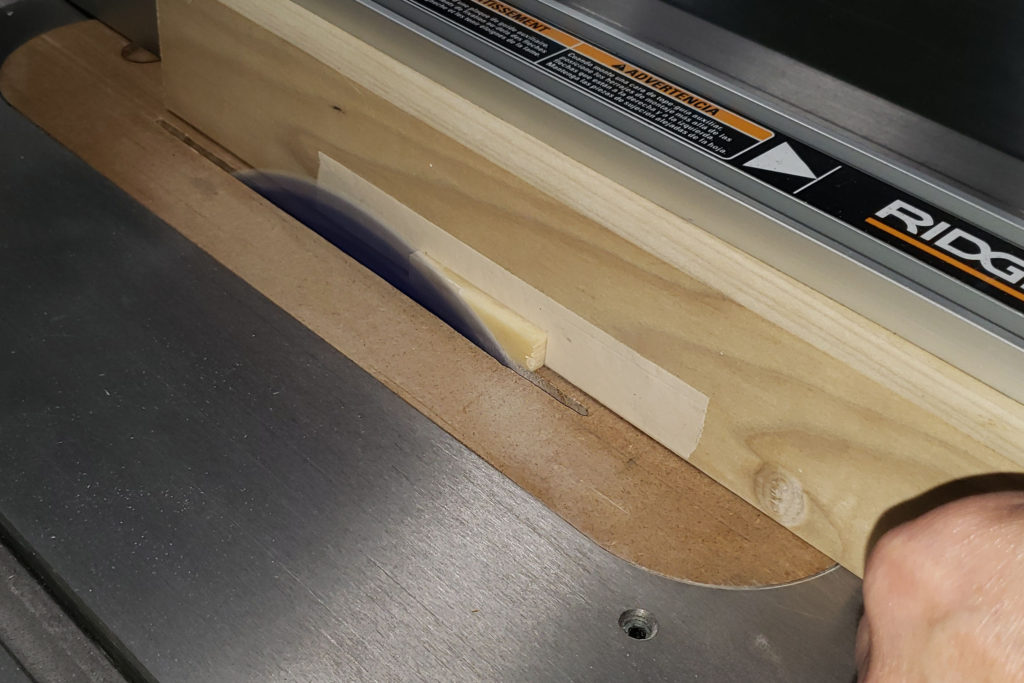
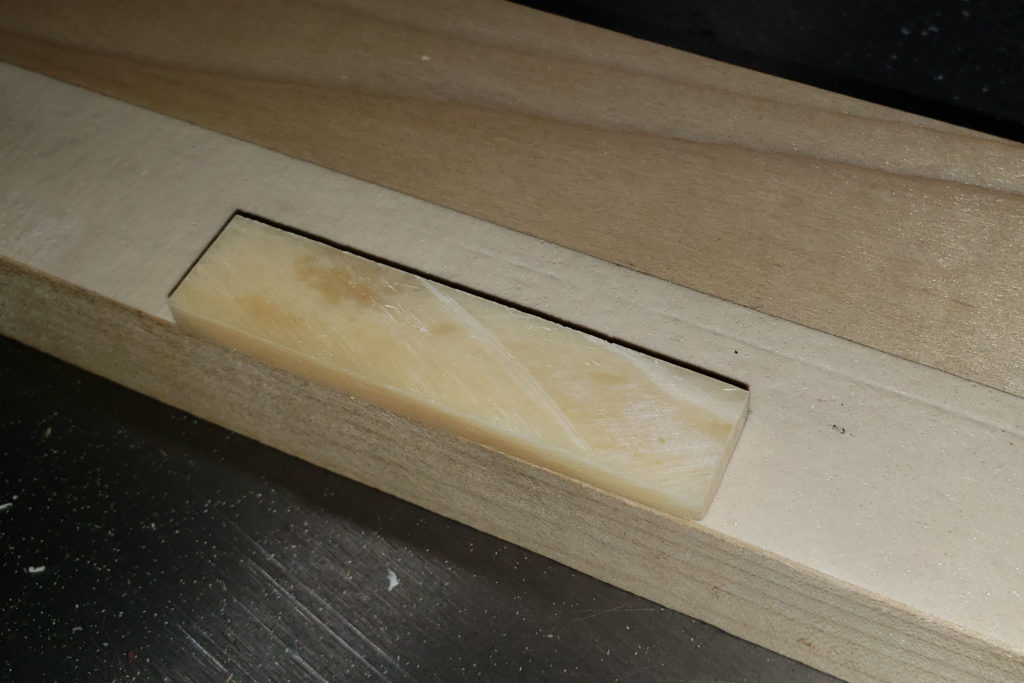
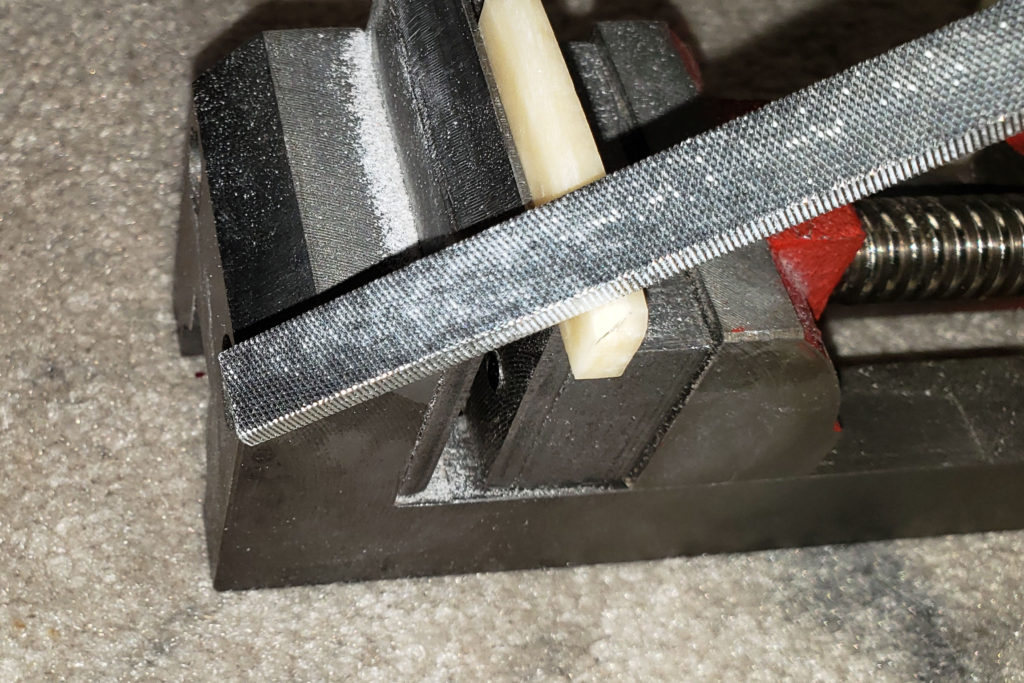
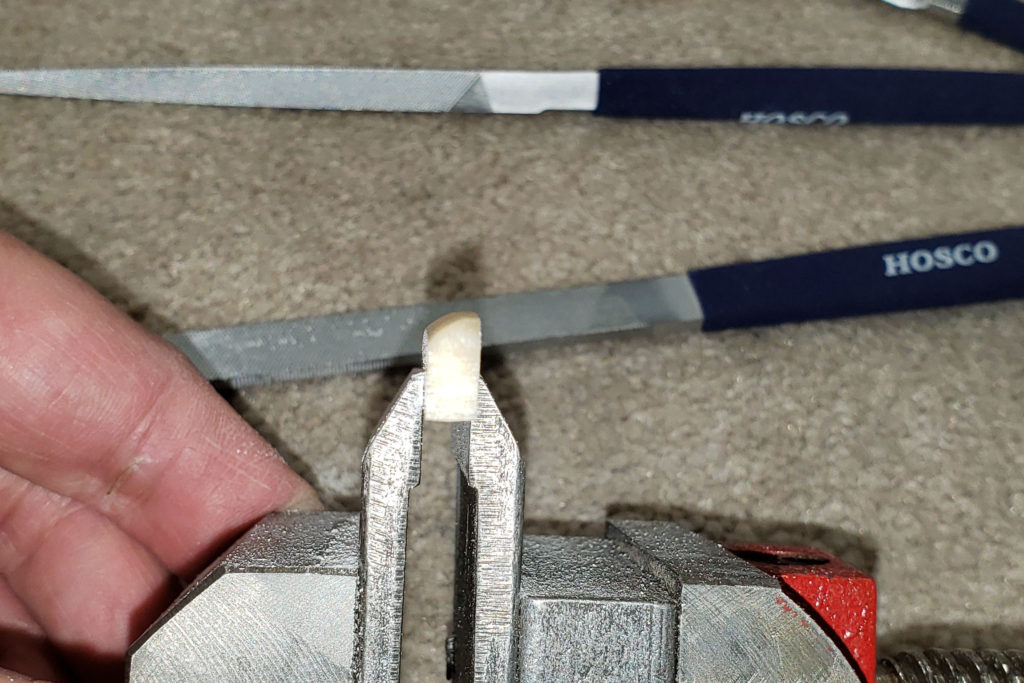
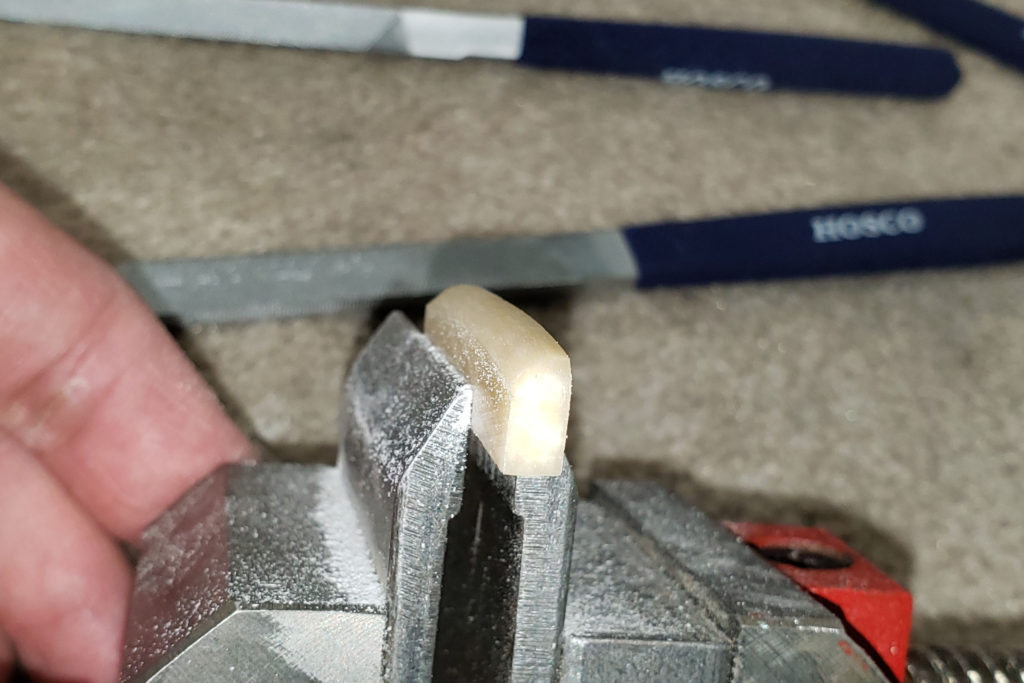
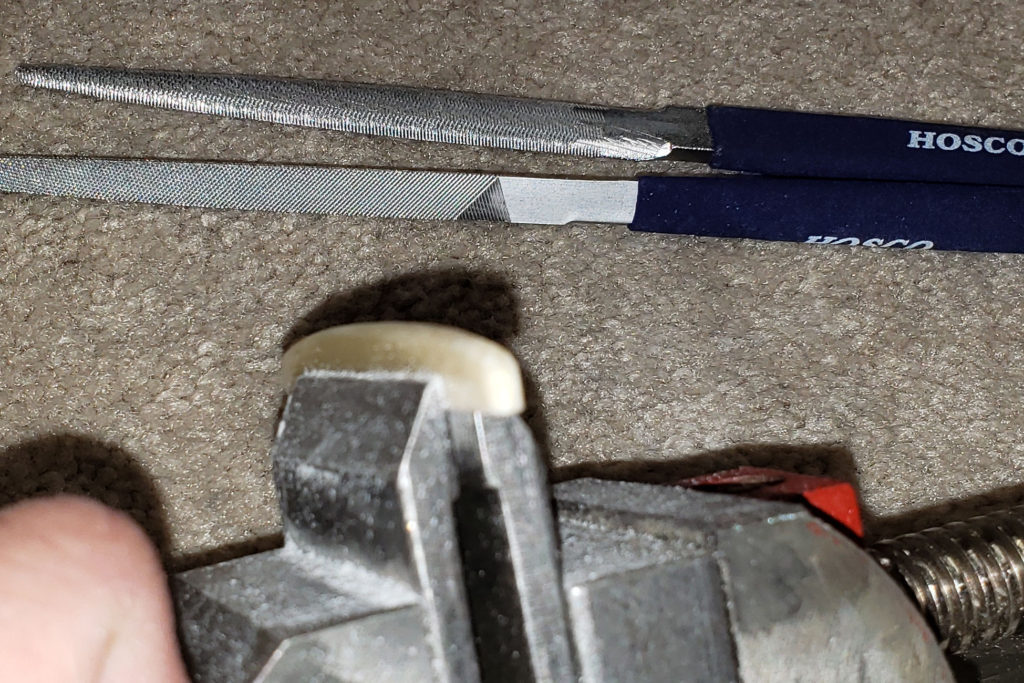
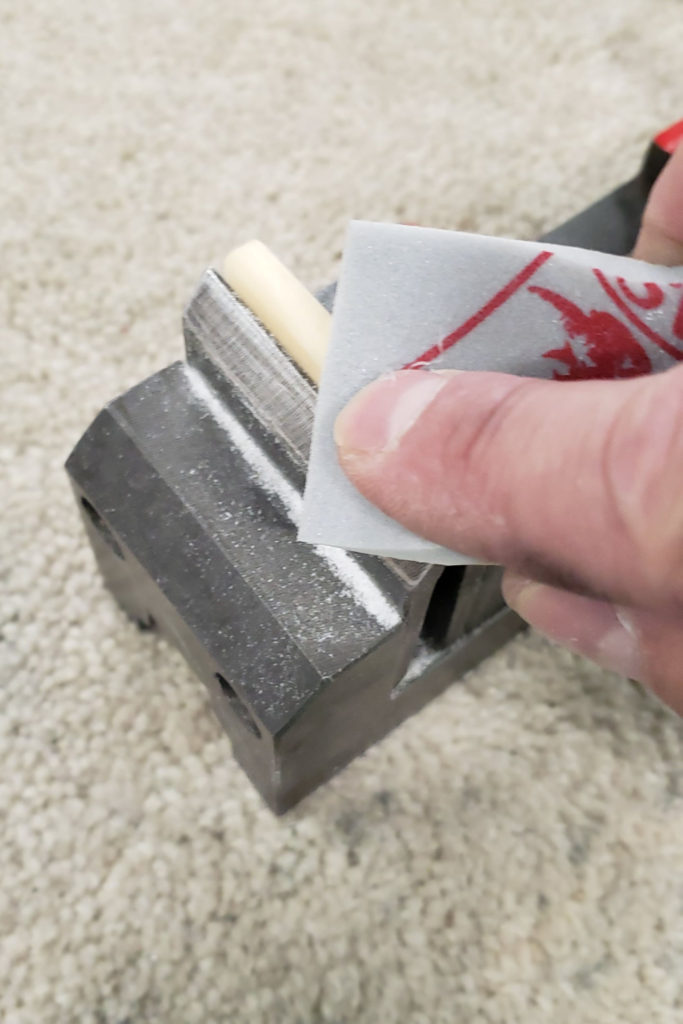
Here you can see how much material is needed to be removed. It is a lot, especially if you are going to try to sand it all away. The secret to getting the thickness down quickly is to use a table saw, a long board, and our template double side masking tape.Next, attach the double side tape to the board and then attached bone blank. Make sure to put some pressure on them to make sure they are securely attached. I like to attach the original nut (or saddle) in front of the blank to use as a guide for setting the thickness.Place the board against the fence and set the thickness I want the blank to be. I sometimes like to leave it slightly thicker so I can fine-tune the thickness later especially when making an acoustic saddle. Here, I am using the original nut as a reference. You will need to remove it before cutting the nut blank so it doesn’t get accidentally damaged.Definitely make sure to use a zero clearance insert on your table saw so you don’t lose the blank in the saw. I should also add, you want to use a large enough board so you can keep your fingers well clear of the spinning blade.Here we are about halfway through the bone nut.OK, so there you go, a bone nut blank thinned to size. Since I’m already set up, I usually will run a few more nuts though so I have a few extra for another job or if I mess up this one.Trace the shape of the nut onto the blank.Here I am using a small tabletop bandsaw to cut out the shape. Make sure to stay slightly outside the line. This can also be done using a tabletop scroll saw.Here we are almost done cutting out the shape. I think this was actually a bone saddles instead of the nut shown in previous images.As you can see, cutting a smooth shape on the bandsaw isn’t critical as long as you stay outside the line you drew. Be careful of your fingertips! I need to come up with a better way to hold on to the nut blanks when profiling them on a belt sander.The nut on the left was just belt sanded with one single facet. The nut on the right is the original nut. I don’t try to make the shape perfect on the belt sander since it can remove material pretty fast. Here is an acoustic saddle with double facets.Here I’m using a nut and saddle file to remove the facets and blend the sharp edges. The nut is held in place with the StewMac Nut and Saddle vise…almost an essential tool when doing this type of work.Side view of the nut after filing.An angled view of the same nut.Here is a picture of an acoustic saddle after filing.Here I’m using foam backed sandpaper to finish the shape and smooth everything out. I typically use 4 grits…120, 220, 320 and 400 grit using the 120 grit for the majority of the work. The other grits are just removing the scratches from the previous sandpaper.Here I’m holding the nut with my hand to round an edge to get the look I’m after.You are basically done here. The matte look is very common. You can go one more step further by polishing them on a buffing wheel. You can get some awesome looking nut and saddles that way.What I’m using here is a small buffing setup that I bought from Penn State Industries (MCLS Woodworking). These are sold for buffing pens but are very handy around the shop for buffing all kinds of small items include bone nuts and saddles! I basically only put buffing compound on the left wheel. I have nothing on the right wheel. I found I can achieve a very nice finish this way. BTW, here I am loading up the left wheel with Menzerna GW16 Finishing compound.Remember to only use the bottom front quadrant when buffing so you don’t accidentally throw the nut at yourself. After buffing with the left wheel, I finish on the right wheel that has nothing on it. I have found that no compound is needed to get the great glossy look.You will be amazed how nice these look after buffing. They almost look like polished stone!
Some final thoughts or questions that some of you might have.
First, is a using a table saw to thin blanks…dangerous? I think so, especially if you don’t know what you are doing or are at least confident in using one.
Second, will this screw up my table saw blade? I haven’t found that to be a problem. I do use a quality carbide tipped blade and never had an issue going back and forth between wood and bone. I have found that a good quality blade will give you a better finish every time whether on wood or bone.
Third, does the type of double-sided tape matter? Yes, absolutely. Use the best you can get. You don’t want the nut blank to come loose when you running it through the table saw. The blank can be a very dangerous projectile.
Here are some links to the items shown in this post.
Small Buffing Setup – https://www.pennstateind.com/store/PROBUFF.html Lots of lesser-priced buffers are available on Amazon and eBay if you are looking to save some money. The compound that comes with it might be OK.


Recent Comments